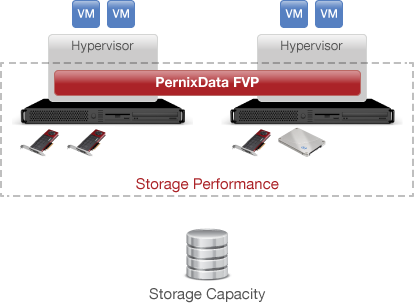
PernixData FVP in my lab. Part 2 – Installation
In the second article of this series I want to cover the PernixData FVP installation process.
If you would like to read the other parts in this article series please go to:
- PernixData FVP in my lab. Part 1 – Preparation
- PernixData FVP in my lab. Part 3 – Configuration
- PernixData FVP in my lab. Part 4 – Performance
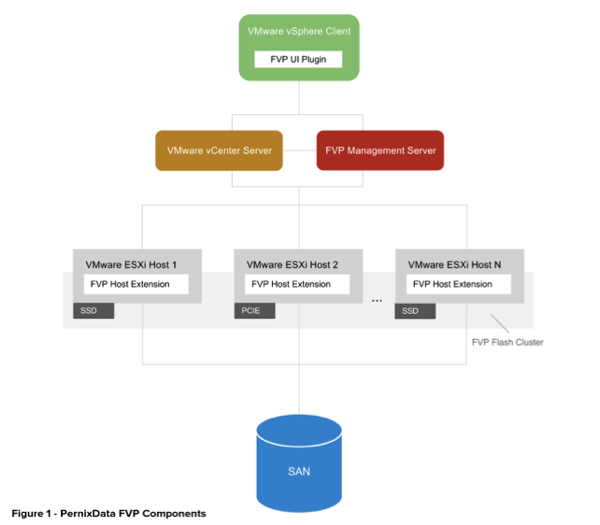
- PernixData FVP Host Extension software on ESXi host(s)
- PernixData FVP Management Server software on a Windows server
- PernixData FVP UI Plugin on guest servers where the vSphere Client is installed
Installation
PernixData FVP Host Extension
Using SSH copy the PernixData Host Extension zip file for your version of ESXi to each host in the cluster. For a better result, use “scp”.
Put the host in maintenance mode, login to the host shell via SSH as root and type the command below:
esxcli software vib install -d <ZIP file name with full path> —no-sig-check
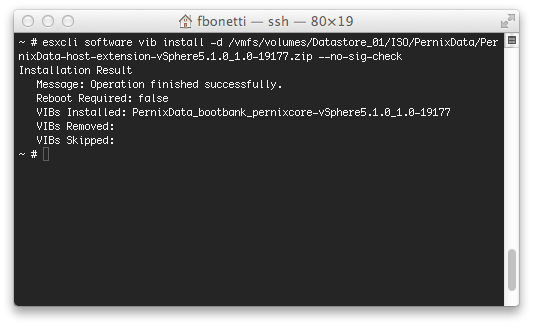
Now you need to backup the ESXi configuration to the boot device, using the command below:
/sbin/auto-backup.sh
Remove from maintenance mode and do the same on the remaining hosts.
PernixData FVP Management Server
I decided to install the PernixData FVP Management Server on the vCenter Server itself. This it is not mandatory, if you want you can chose another server. PernixData FVP Management Server requires a database to work. I decided to use my centralized DB Server.
Log on to the server and start the installer
Click Next on the welcome screen

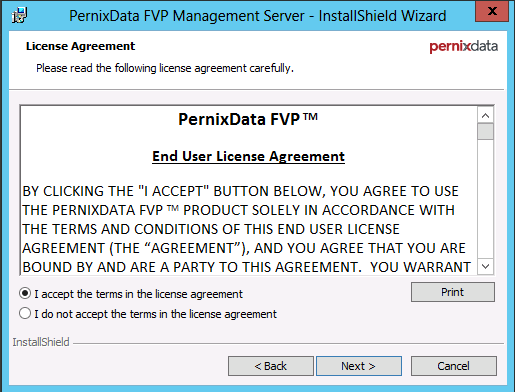
Accept the License Agreement and click Next.
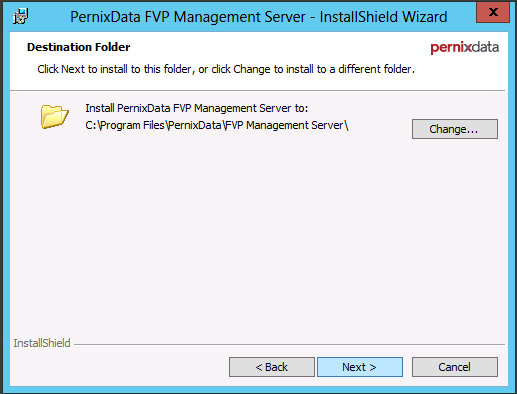
Choose the Installation Folder and click Next.
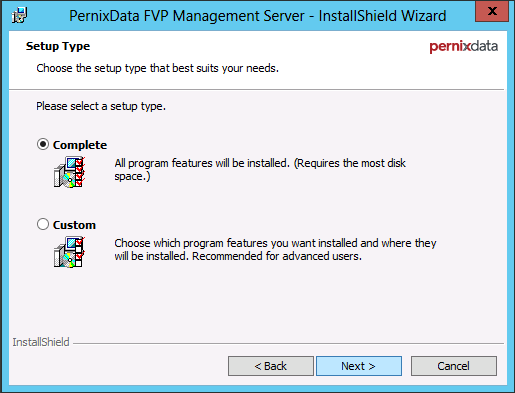
I have choose the Complete installation. This install both server and remote CLI tools. Click Next.
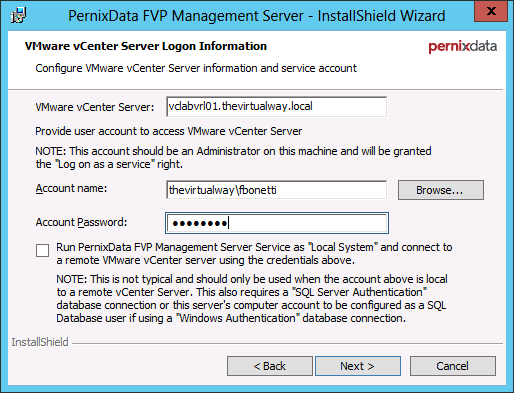
In the next window, we need to provide VMware vCenter Server Logon Information. Then click Next.
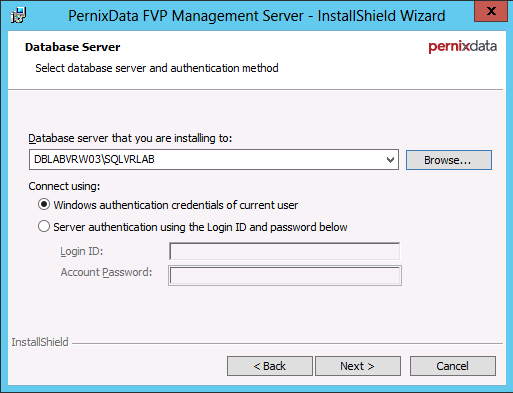
Now you need to provide the database server details. Then click Next.
Specify now, how the FVP Management Server should be identified on the network. This hostname or IP address should be accessible from all vSphere clients.
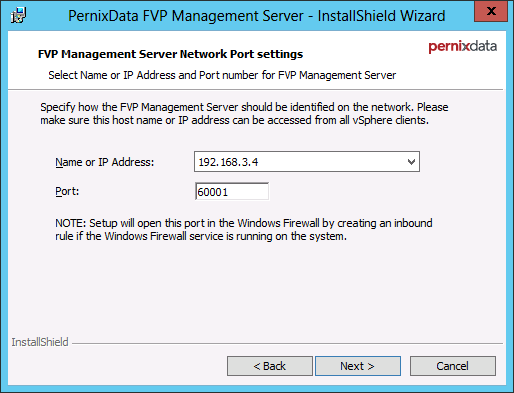
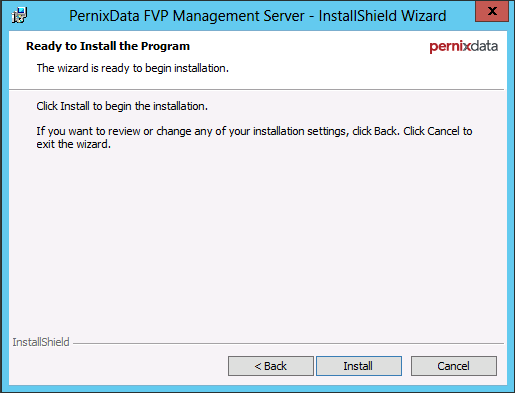
Click Install to begin installation.
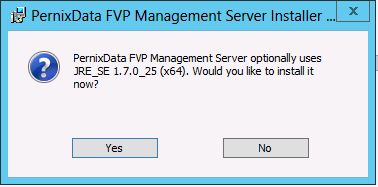
Before the end of the installation, we are asked whether to install JRE_SE 1.7.0. Click Yes.
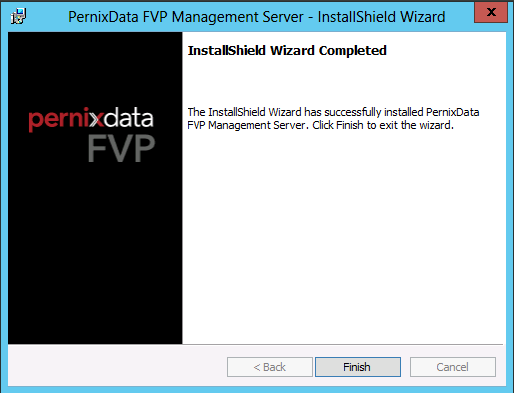
Click Finish to close the installer
Install PernixData FVP UI Plugin
The FVP UI Plugin should be installed on all Microsoft Windows systems that run VMware vSphere Client software.
The FVP UI Plugin is available in the vSphere Plug-in Manager. Login to the vCenter server using the vSphere Client. Select Manage Plug-ins from the Plug-in drop down menu.
In the available Plug-ins section, click the Download and Install… link in the Status column.
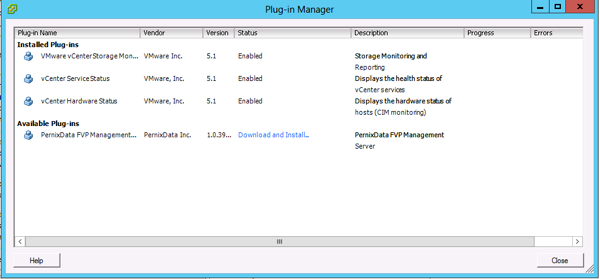
In the Open File, click Run and install the plug-in.
Alright we have now reached the end of part 2 of this multi-part articles series.
If you would like to read the other parts in this article series please go to:
- PernixData FVP in my lab. Part 1 – Preparation
- PernixData FVP in my lab. Part 3 – Configuration
- PernixData FVP in my lab. Part 4 – Performance
-
Greg Peck

